dbt Cloud使ってみた
こんにちは、中村です。
データ界隈で名前を聞かない日がないdbtですが、また使ったことがない方も多いと思います。
そこで今回はdbtCloudを使ってみたいと思います。
目次
概要
dbt(data build tool)はELTのT(Transform)に特化し、ユーザーはSQLのSELECT文を使用して、必要なデータの形を定義し、その形のテーブルやビューを作成します。あらかじめ各カラムの制約を定義しておけば、作成時に品質テストを行うことができ、データ品質のチェックができます。またgit管理ができることも使いやすい点の1つです。
dbtCloudはdbtのSaaS版サービスであり、他にはOSSのdbtCoreがあります。主な違いは、dbtCloudはGUI操作でプロジェクトを作成でき、ジョブのスケジューリング機能やAPI機能、セマンティックレイヤー等の機能を使うことができるという点です。一方dbtCoreは無料ながらテーブルやビューの作成やデータ品質の確認機能が備わっており、拡張機能もあわせて使うことでテスト項目の追加や依存関係の可視化
使ってみた(登録からプロジェクト作成、ジョブ実行まで)
今回はこちらの公式ドキュメントをベースにdbtCloudを使ってみます。
また、今回データウェアハウスはSnowflakeを使用します。アカウントがない方はぜひトライアルアカウントを作成してみてください!
実行の全体像
SnowflakeのRAWデータベースに入っているcustomers、ordersテーブルをdbtで参照して変形し、MARTデータベースにcustomersテーブルとして保存、同時にテストも行うジョブを作るのが今回の行うことです。

Snowflake側のセッティング
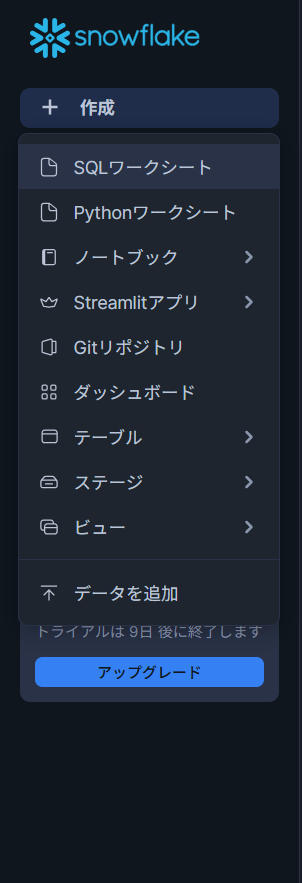
画面左の作成からSQLワークシートを選択
次のSQLをコピペして実行してください
--ウェアハウス、データベース、スキーマの作成
create warehouse transforming;
create database raw;
create database mart;
create schema raw.jaffle_shop;
--サンプルデータ用テーブル作成とサンプルデータ取込
create table raw.jaffle_shop.customers
( id integer,
first_name varchar,
last_name varchar
);
create table raw.jaffle_shop.orders
( id integer,
user_id integer,
order_date date,
status varchar,
_etl_loaded_at timestamp default current_timestamp
);
copy into raw.jaffle_shop.customers (id, first_name, last_name)
from 's3://dbt-tutorial-public/jaffle_shop_customers.csv'
file_format = (
type = 'CSV'
field_delimiter = ','
skip_header = 1
);
copy into raw.jaffle_shop.orders (id, user_id, order_date, status)
from 's3://dbt-tutorial-public/jaffle_shop_orders.csv'
file_format = (
type = 'CSV'
field_delimiter = ','
skip_header = 1
);
--データが正しく取り込まれているか確認
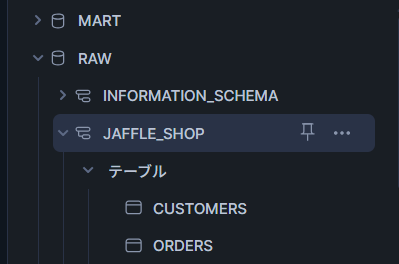
select * from raw.jaffle_shop.customers;
select * from raw.jaffle_shop.orders;下の図のように構成されていればOKです。
今回はトライアルアカウントで実行することを前提にAccountadminで実行しますが、お使いの環境によっては適切なロール設定が必要です。
dbtCloudの登録とプロジェクトのセットアップ
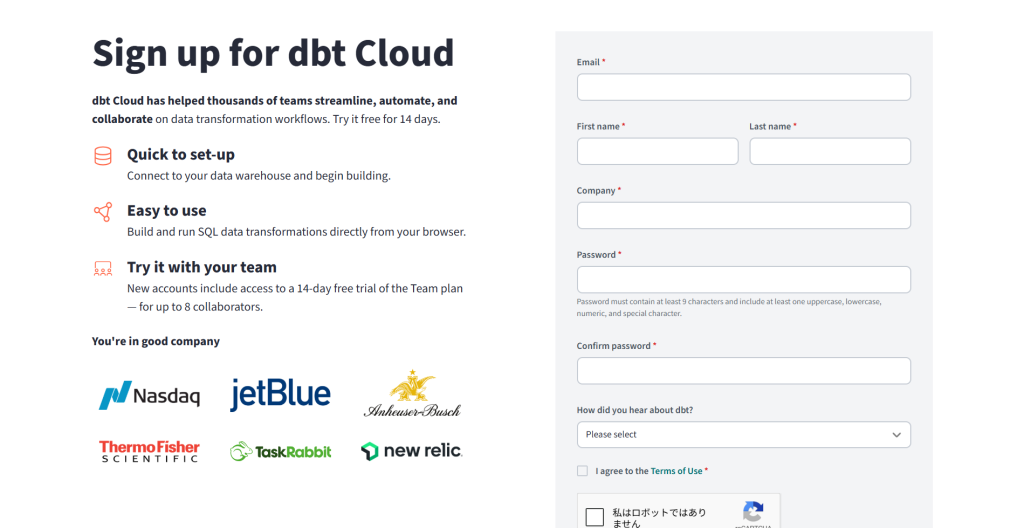
まずはサインアップのページに移動して必要な情報を入力
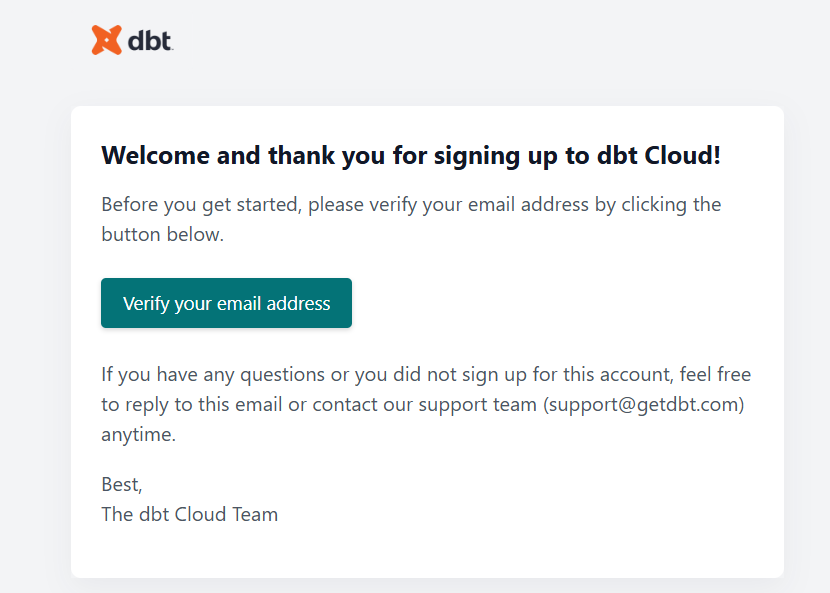
入力後、メールが来るので確認
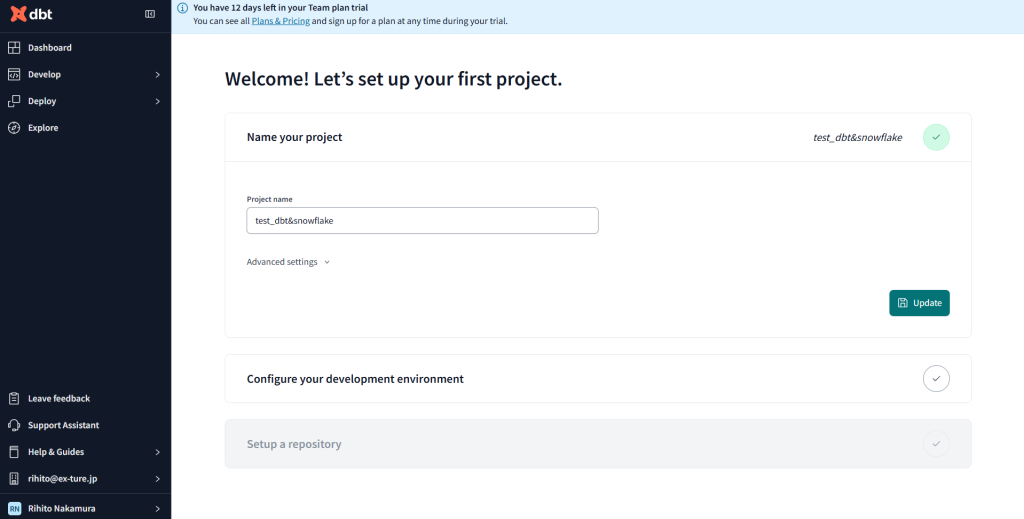
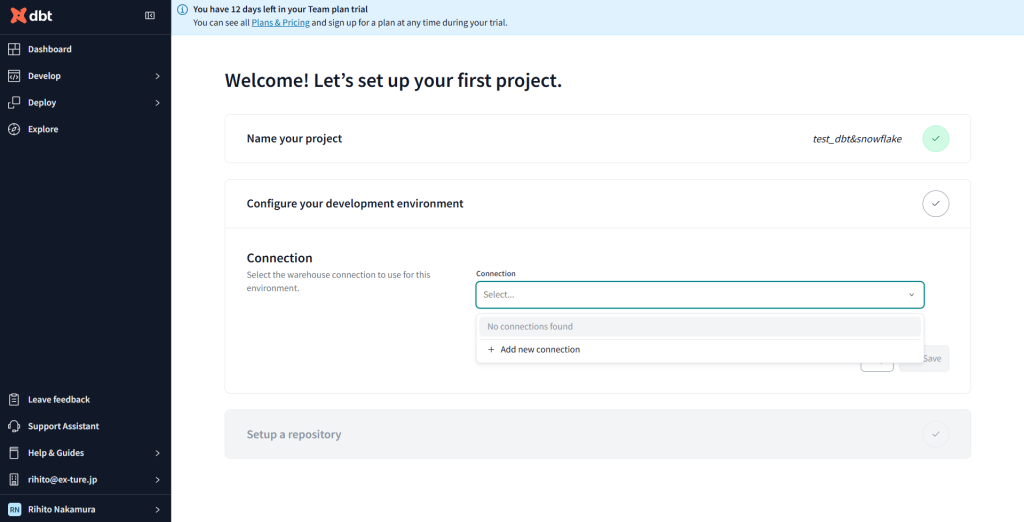
webページに遷移するので、そこから新しいプロジェクトを作成
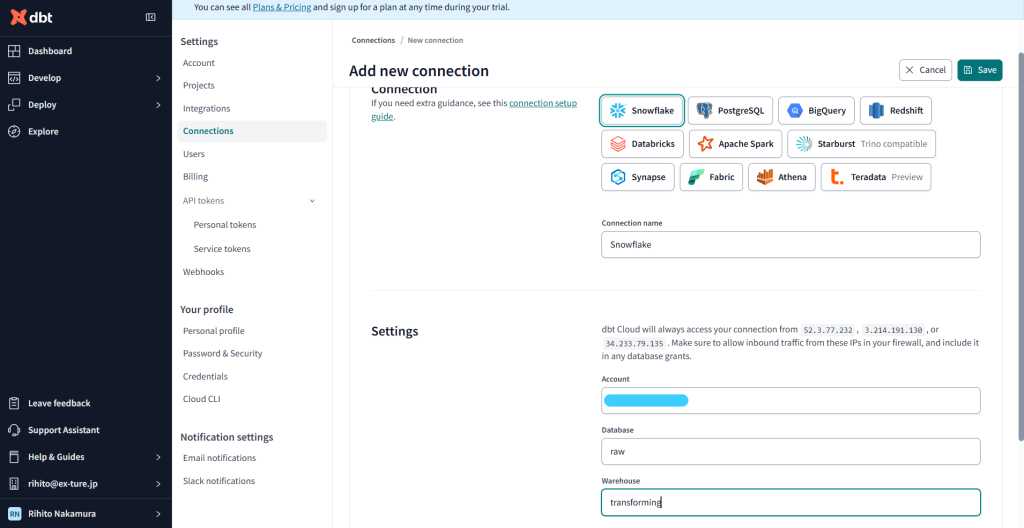
+Add new connectionから新規の接続先を選択
ConnectionでSnowflakeを指定、SetteingsはSnowflakeのAccountと先ほど作ったデータベースとスキーマを入力
Setup a repositoryは今回はManegedにします。
もちろん既存のプロジェクトを使いたい場合はGitcloneもできます。

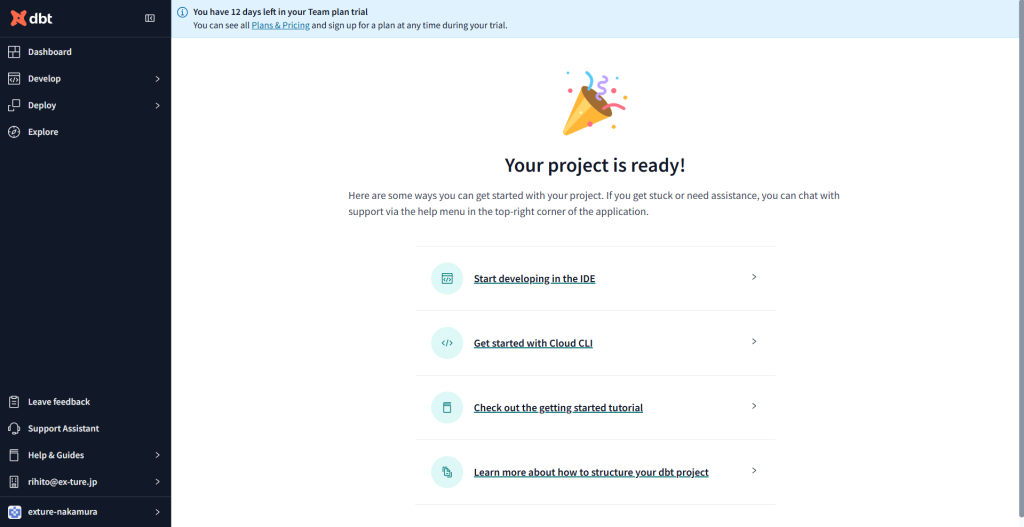
プロジェクトのセットアップができました!次はモデルを作成していきます。
モデルの作成
続いてモデルの作成をしましょう。
DevelopからCloudIDEを選択します。下の画面が出てきたら、Initialize dbt projectをクリック
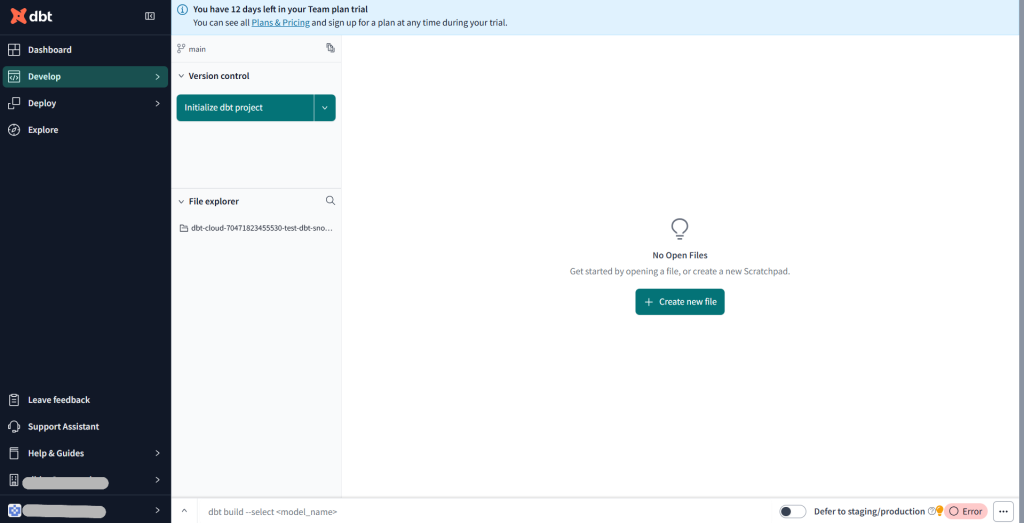
フォルダなどが作成されたらmodelsの配下にフォルダとファイルを追加していきます。

models配下の構成は以下の通りです。
models/
├── staging/
│   ├── stg_customers.sql
│   └── stg_orders.sql
└── mart/
│   └── customers.sql
└── schema.yml
追加できたら中身も作成していきます。
#schema.yml
version: 2

sources:
  - name: jaffle_shop
    description: This is a replica of the Postgres database used by our app
    database: raw
    schema: jaffle_shop
    tables:
      - name: customers
        description: One record per customer.
      - name: orders
        loaded_at_field: _etl_loaded_at
        freshness:
          error_after: {count: 5, period: minute}
        description: One record per order. Includes cancelled and deleted orders.

models:
  - name: customers
    description: One record per customer
    columns:
      - name: customer_id
        description: Primary key
        tests:
          - unique
          - not_null
      - name: first_order_date
        description: NULL when a customer has not yet placed an order.

  - name: stg_customers
    description: This model cleans up customer data
    columns:
      - name: customer_id
        description: Primary key
        tests:
          - unique
          - not_null

  - name: stg_orders
    description: This model cleans up order data
    columns:
      - name: order_id
        description: Primary key
        tests:
          - unique
          - not_null
      - name: status
        tests:
          - accepted_values:
              values: ['placed', 'shipped', 'completed', 'return_pending', 'returned']
      - name: customer_id
        tests:
          - not_null
          - relationships:
              to: ref('stg_customers')
              field: customer_id
#customers.sql
with customers as (
    select * from {{ ref('stg_customers') }}
),
orders as (
    select * from {{ ref('stg_orders') }}
),
customer_orders as (
    select
        customer_id,
        min(order_date) as first_order_date,
        max(order_date) as most_recent_order_date,
        count(order_id) as number_of_orders
    from orders
    group by 1
),
final as (
    select
        customers.customer_id,
        customers.first_name,
        customers.last_name,
        customer_orders.first_order_date,
        customer_orders.most_recent_order_date,
        coalesce(customer_orders.number_of_orders, 0) as number_of_orders
    from customers
    left join customer_orders using (customer_id)
)
select * from final
#stg_customers.sql
select
    id as customer_id,
    first_name,
    last_name
from {{ source('jaffle_shop', 'customers') }}
#stg_orders.sql
select
id as order_id,
user_id as customer_id,
order_date,
status
from {{ source('jaffle_shop', 'orders') }}作成すると下図の様にSQLファイル間の依存関係を可視化してくれます。dbtCloud様様ですね。
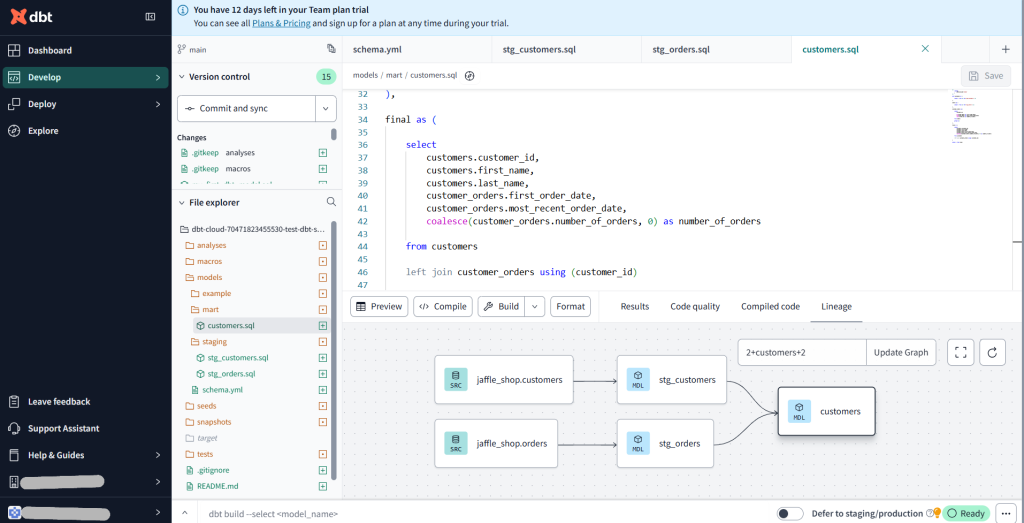
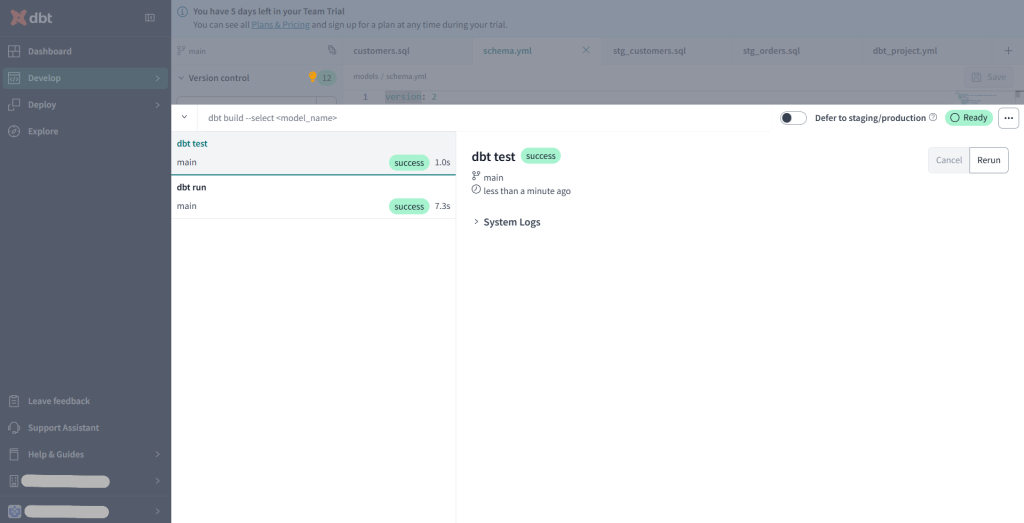
ここまで出来たら下の入力スペースからdbt runとdbt testを行いましょう。
dbt runはmodels配下の.sqlファイルを実行してテーブルやビューを作成するコマンドで、dbt testはschema.ymlに書かれた各列ごとの制約を満たしているかをテストするコマンドです。
両方ともsucsessだったので問題なく実行できたようです。
次はルートディレクトリのdbt_project.ymlにテーブルの保存先を記述します。
#dbt_project.yml
name: 'jaffle_shop'
version: '1.0.0'
config-version: 2

profile: 'default'

model-paths: ["models"]
analysis-paths: ["analyses"]
test-paths: ["tests"]
seed-paths: ["seeds"]
macro-paths: ["macros"]
snapshot-paths: ["snapshots"]

target-path: "target"  # directory which will store compiled SQL files
clean-targets:         # directories to be removed by `dbt clean`
  - "target"
  - "dbt_packages"

models:
  jaffle_shop:
    mart:
      +materialized: table      # テーブルとして保存
      +database: mart           # Snowflakeのmartデータベースに保存
    staging:
      +materialized: view  # ビューとして保存
      +database: raw           # Snowflakeのrawデータベースに保存
ここまで完了したらcommit and syncをクリックしましょう。これでジョブを実行する準備が整いました。
ジョブの作成
最後にジョブの作成をします。
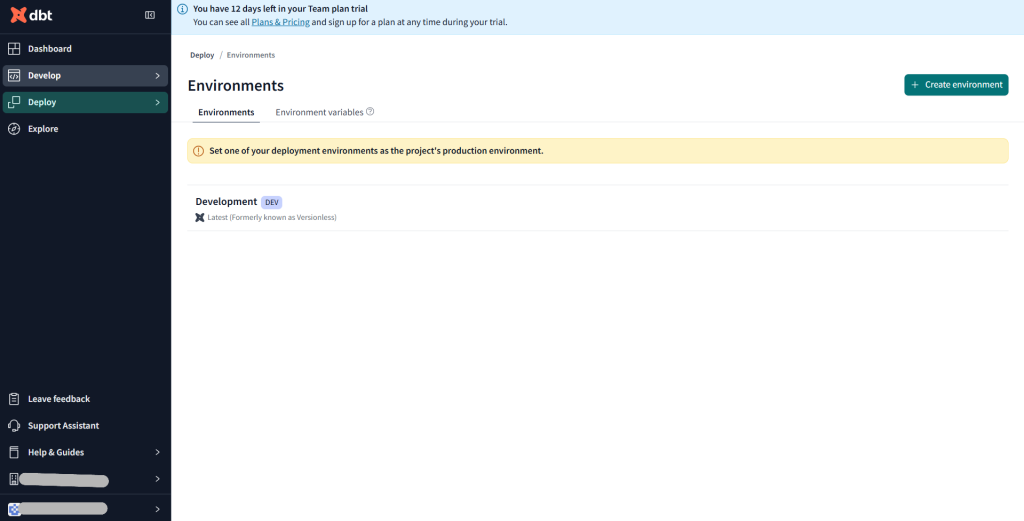
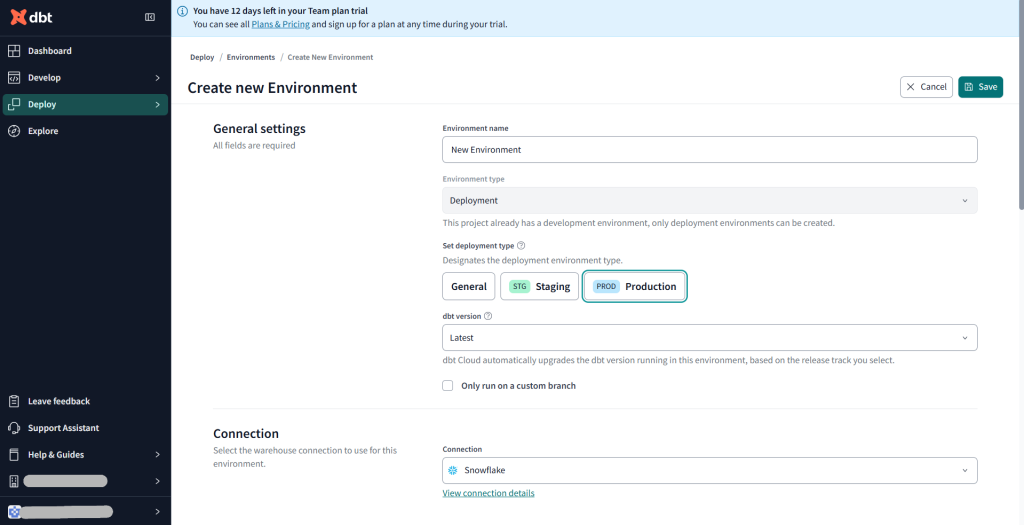
DeployからEnvironmentsを選択し、+Create environmentをクリック
Set deployment typeは今回はProductionを選択、ConnectionはもちろんSnowflakeです。
Connection settingsはdbt_project.ymlでテーブルの保存先を指定しているので今回は空欄でOK
Deployment CredentialでSnowflakeのUsernameとPasswordを入力
schema欄にはmartデータベース内のテーブルを保存するスキーマを入力
(ここでのスキーマはSnowflakeのmartデータベースになくて作ってくれるので問題なし)
一応Test Connectionで接続テストを行ってから保存しましょう。

保存したらしたスクロールで+Create jobからDeploy Jobを選択

そのまま保存でもよいですが、後でジョブの結果が見られるように、Excution settingsのGenerate docs on runにチェックを入れておきます。

それではジョブを実行してみましょう。
右上のRun nowをクリック
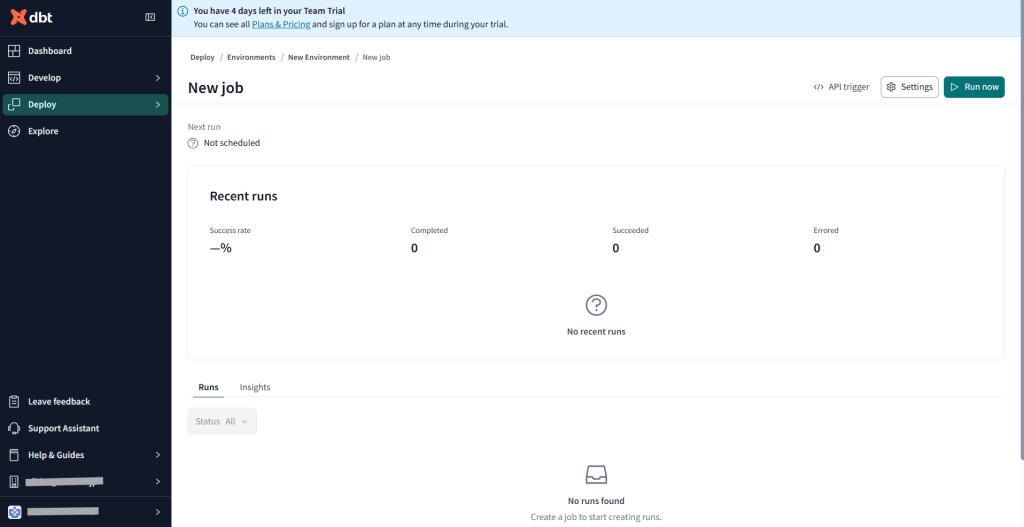
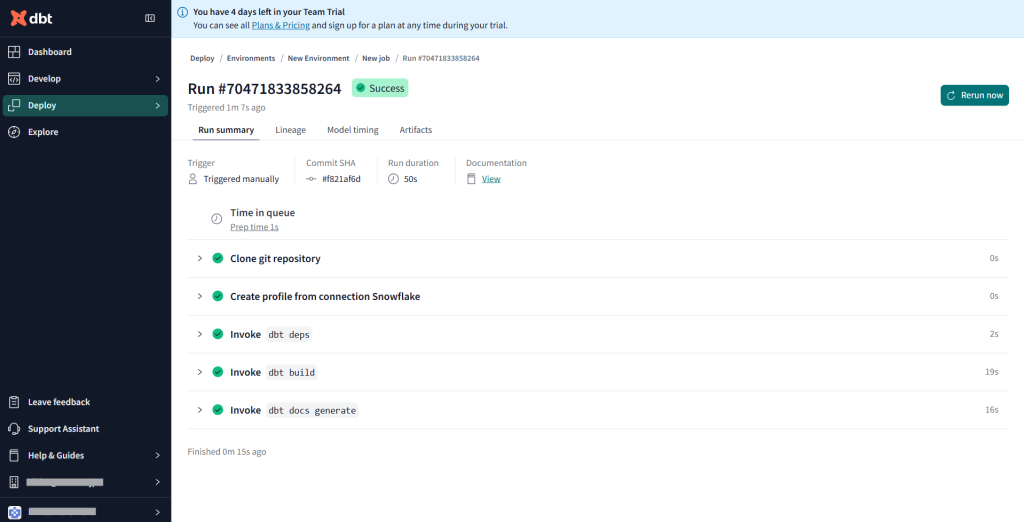
実行詳細の画面に移動すると問題なく実行されていました!
作成されたドキュメントはRun SummaryのDocumentation Viewから見ることができます。
Snowflake側でもちゃんと実行されていることが確認できました!

まとめ
今回はdbtCloudを使ってみました。依存関係を可視化してくれる機能やGUIでcommit&mergeできるところなど、とても使いやすいツールでした。皆さんもぜひお試しください!少々長くなってしまいましたが、ご覧いただきありがとうございました!